Yes, reader, I’m afraid there is.
It may seem simple on the surface. But after learning about this myself, I am here to tell you that you can improve your candle experience with just a few tweaks.
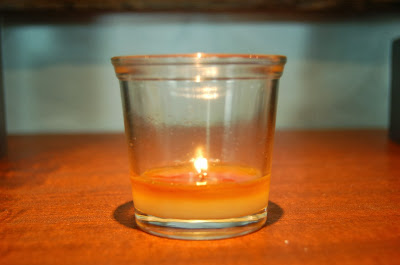
Has your candle ever looked like this?
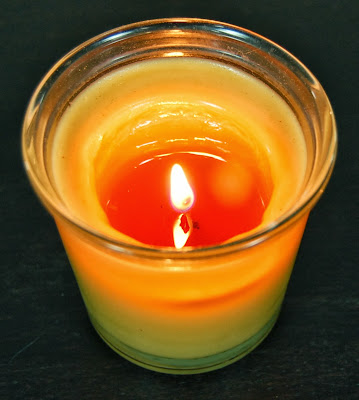
This is called tunneling. This remaining ring of unmelted wax around the edge of the candle is created as a result of the “memory” of the candle. When the candle is burned for the first time, it creates a memory. So, if upon the first burn you let the candle run liquid all the way to the edge, then it will quite easily do it again and again for each subsequent burn. In this way you can actually prevent tunneling. Tunneling happens because wax that has been melted before is different from wax that has not. The wax that solidified after a previous burn is actually quicker and easier for your flame to melt that the untouched wax. As such, a ring of untouched wax from the initial burn can stop your candle from ever burning all the way to the edge.
A tunneled candle will burn for less time and do it less consistently. With a tunneled candle, you won’t get the full value out of it that you paid for. (This would be especially concerning if you buy fancy $30 candles.) But not to worry, it can be possible to save your tunneled candle.
The simplest method I have seen involves nothing more than a piece of aluminum foil. All you need to do is to wrap the foil around the edge of your candle like this:
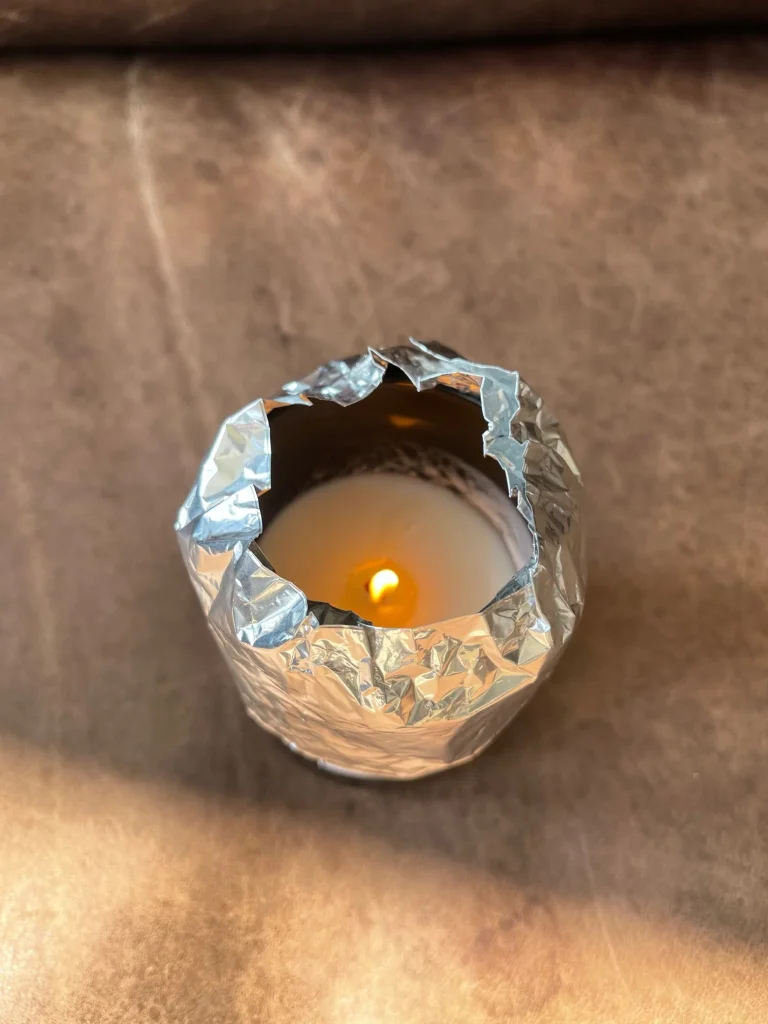
This foil will then help to trap the heat of the flame. This helps to better concentrate heat around the edges and melt your unmelted wax. Always be sure to be careful when removing the tinfoil because it can get hot. However, this method may fall short if your candle is too far gone. When the tunnel is too deep, the remaining wax on the side can be too much to melt. In other cases, the large amount of excess unmelted wax can burry the flame and it’s wick once liquid. In these cases, it may be best to let the candle be and try to prevent the tunneling next time. If you are still determined, one can scoop out excess wax when solid and put it into a wax melter, then return to burning as normal.
You can avoid your candle turning black
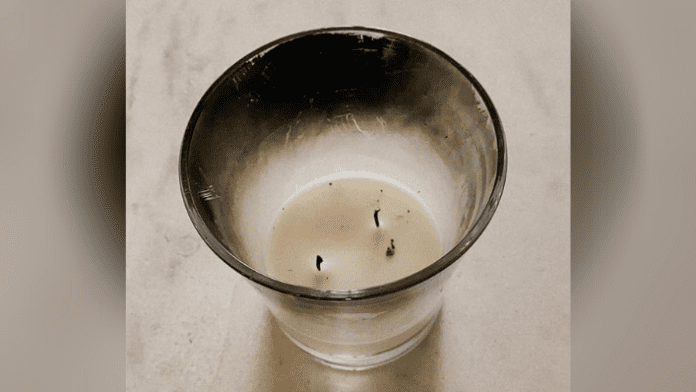
This black build-up on the rim of your candle is caused by soot. Soot can be almost entirely eliminated by trimming the wicks on your candle. In fact, trimming the wicks can also create a much safer burn. When the wick is short, the flame is forced to stay short as well. It can no longer lick the side of the glass or easily deposit shoot. A trimmed wick means less soot and less of a fire hazard.
To trim your wick, just cut it to about a quarter of an inch above where the wax sits. You can use an actual wick trimmer, or you can use a pair of nail clippers like I do. You should trim the wick sometime after each burn once the candle is solid and cool. In some cases, however, the first burn may benefit from an untrimmed wick. We want to make a good memory on that first burn. So if you have a wide candle, that extra length (and thus extra flame) may help the candle burn all the way to the edge. But if your candle is not wide or has three wicks, then it is best to trim it. It is actually for this reason that a three wick candle is easier to care for than a one wick candle. The extra flames help the candle to more easily burn to the edge each time.
I hope you learned something. From now on, hopefully we can all have a better candle experience.
– Emma Doyle